Friday, December 13, 2013

Cinnamon Ornaments

In our chat yesterday about Bumpkin Farm's Christmas tree traditions, I told you that I would give you more info today on how to make cinnamon ornaments.  Being that I am a farm-ess of my word, here ya go!!! 


First you start with 3 cups of cinnamon and 3 cups of applesauce.  I was able to get my cinnamon at Dollar Tree!!  Whew!!  That could have been expensive!


Then you mix it up! 


I started with a spoon and eventually went to using my hands because the dough became to thick. 


Oh, you should also know that the batch in the pictures is a double batch so you won't have as much dough.

Then you grab some cute helpers and some cookie cutters!!


Sprinkle a little cinnamon on the surface you plan on using just like you do when you make biscuits. 


Then you plop the dough down and start rolling it with either a rolling pin or your hands!  I prefer the rolling pin, but....there is a girly that lives in my house (otherwise known as my daughter) and she likes to use her hands!


You flatten it out at whatever thickness you want your ornaments to be, but remember, the thicker the ornament the longer it takes to dry.  Then you get cutting!! 

Be sure that you keep some extra cinnamon around to use when things get sticky!!


Then beautiful cinnamon ornaments begin to appear in your kitchen!!


After cutting them out, make sure you use a toothpick and make a little hole at the top for the string, ribbon or hanger!  We forgot this one year....Oops!


Stick them on a cookie sheet once they are cut for about an hour to allow them to harden up just a bit.


You will notice that about this time your house starts to smell REALLY yummy!!  Our dogs started to think there might be something good for them in the kitchen.  They are not allowed into the kitchen so they were both sitting at the entrance just hoping someone would share!


Tank really, REALLY wanted to help!!  He thought they smelled REALLY good!!!!


So after an hour on the cookie sheet, move them to drying racks where they dry for a few days.  It was funny because I had these racks in the corner of my kitchen during Thanksgiving and because of the yummy smell, everyone tried to grab the cinnamon "cookies" during our celebration!  They taste GROSS...trust me ;)


After they are dry you string your hanger of choice in the hole.  We use twine, but ribbon is really pretty too!! 

Then you can either paint them or leave them the way they are.  We usually do a little of both!


I think they look lovely on the tree and they make the house smell yummy all season!  And, when you go to open your Christmas boxes next year the smell of cinnamon instantly gets you in the Christmas mood!!


This is a really simple project to do, yet yields a great return!!  Super fun, beautiful in a simple way, and a fun tradition to have.

Blessings my blogger friends!!


Thursday, December 12, 2013

Christmas Trees on Bumpkin Farm: Christmas Traditions

After Advent, I would say that my next favorite family Christmas tradition is the cutting and decorating of our tree.

The day after Thanksgiving we head out to find the "perfect" family tree!  Now, perfect is relative cuz I could tell you some crazy stories about trees past!

Unfortunately, where we live there is no place to just head out in the woods and find a Christmas tree, so we head to a tree farm to find it!

We usually walk around for a couple of hours going from tree to tree declaring each tree's perfection until we see the next one.  Then about two hours into it my back hurts and everyone is getting a little dizzy from all of the trees so we just pick one and begin cutting!

Christmas tree cutting this year!! 2013

Tree cutting from 2011!!
Tree cutting 2010!!

We load it up and carry it home, set it up in the living room and allow a day for all of the branches to settle, or all the insects to wake up from their slumber!

Then the following day is probably one of my top five most favoritest days of the year....tree decorating!!  The Friday night before we decorate the tree, we spend time decorating the house and Farmer Willie puts the lights on the tree so then once Saturday comes....BAM, we decorate!!

It is a decorating party!!  We have a spread of finger foods, always have some chips and queso, red and green M&M's and Little Debbie Christmas Tree Cakes.  There is usually some fruit and raw veggies with dip thrown in there too.  And finally......Christmas punch!!!

After we spend time eating and visiting we begin decorating!!  We usually put up three trees.  The main on in our living room we cover with ornaments that we make.  This year it is mostly cinnamon ornaments and boy does our living room smell good!  (I will show you how to make them tomorrow!)


The other tree, usually in the dining room, we hang our yearly ornaments.  Each year one of the girls and I will go and pick out a special ornament for each person.  Sometimes we have a theme and other years we get ornaments based on things that each person was interested in throughout the year.  We label them with the year and the name.  We started this about ten years ago and the plan is that when the girls leave home they will be able to take their special ornaments with them to hang on their trees!!


We also hang our travel ornaments on this tree as well.  Each time we travel to a new destination we try and pick up a Christmas ornament as a souvenir!!

You can imagine how much fun this tree is to decorate!!  It brings back tons of memories and fun stories!!!

The final tree is really just there because we love Christmas trees!  This year it is decorated in red and white and is in our library.

You will note the cat at the bottom, Aslan, thinks he is the best gift of all!

We keep the lights on the trees going as long as we are awake!  I love the mood that it sets in the house!! 

We don't really do presents, so under the main tree we have our Christmas books, under the red and white tree we have some homemade gifts for each other and  we don't put anything under the memory/travel tree.

So....what traditions do you have with your Christmas trees??!!


Monday, December 9, 2013

Advent on Bumpkin Farm - Christmas Traditions

Christmas is coming! 

I know, hard to believe isn't it?  This year has flown by!!

Our family is one that loves tradition!  Probably a little too much :)  But during this time of year our traditions abound and frankly, we like it that way!!


One of our favorite traditions is observing Advent. 

What is advent?  It is traditionally a time of expectation and waiting for the celebration of Christ's birth.  It is a time to focus your attention, thoughts and actions on things that are everlasting as opposed to short-lasting.

In order to do this, we have nightly Advent readings that include the lighting of the Advent candles, a short lesson, reading of scripture, singing, and prayer.


Our advent wreath is simple greenery with four candles in the middle, three being purple and one pink.  The purple candles are the color representing royalty and penance and the pink, being that Advent is partially patterned after Lent, represents joy . 

Week 1 stands for Hope, and week 2 Love. Week 3 stands for joy and week 4 peace. In the center of those candles is a short white candle that is lit on Christmas morning representing Christ!


Different churches and different denominations observe Advent differently so we have just picked what makes sense to us and gone with it!! 

I remember when growing up, the Baptist church we attended observed advent and each Sunday we sang the following song:

Light One Candle


1. Light one candle for hope One bright candle for hope He brings hope to every heart He comes! He comes!
2. Light one candle for love One bright candle for love He brings love to every heart He comes! He comes!
3. Light one candle for joy One bright candle for joy He brings joy to every heart He comes! He comes!
4. Light one candle for peace One bright candle for peace He brings peace to every heart He comes!
He comes!

 
Because this song has a lot of memories and meaning to me, it is one of the songs we sing each Sunday when we light that week's candle.


Do I think you have to observe Advent?  Nope! 

But for our family, it is a way that we can come together each evening and bring our busy, excited thoughts all back to the reason we are rejoicing and celebrating in the first place.  That God...GOD, chose to become a human and come to earth and live just to sacrifice himself for ME so that not only we can spend eternity together, but so that we can have a relationship now!!

Want to read more blogs about homesteading? 


Follow this link!!  Homestead Barn Hop

Wednesday, December 4, 2013

Bumpkin Bars!!

Bumpkin Farm is now up and running!

What's the difference?  Well, now we have a cool name and a logo thanks to Urban Creative Studio via etsy!!


And we have officially sold our first batch of soap, otherwise known as Bumpkin Bars!!

So for today's post, I thought you might enjoy seeing how we make the bars.

This batch is a peppermint 100% goat milk soap.  We say 100% goat milk because most goat soaps are made with some water added.  Since we use the milk that we get each morning we have a nice supply and are able to use all milk.

First things first, we get all of the supplies laid out!


Then we start to measure out the ingredients beginning with the solid oils like palm and coconut oil.


Then we measure the liquid oils out!


After that we begin to melt the solids.


Once that gets going we finish measuring out the essential oils, any specialty oils and the milk.

Here we are measuring out the peppermint essential oil.


We measure our milk out in frozen cubes.  It is much easier to control the temperature of the milk when you use frozen milk and there is the added benefit of it being easier to get an exact weight on!


Once that is measured the solid oils are usually melted and we add the liquid oils such as olive oil.  This allows time for the oils to sit and cool to the correct temperature!


Adding the olive oil to the coconut and palm oils!


At this time we also measure out the lye.


During the next step we add the lye to the milk.  This is done very slowly and carefully as lye can severely burn your skin if it is not handled correctly.  Another hazard is adding the lye too quickly.  If this happens your burn your milk.


We at Bumpkin Farm always take the utmost precautions when handling the lye!!  Goggles, long pants and sleeves, shoes and rubber gloves are a must!  We also keep a bottle of vinegar out in case of spills or splashes.

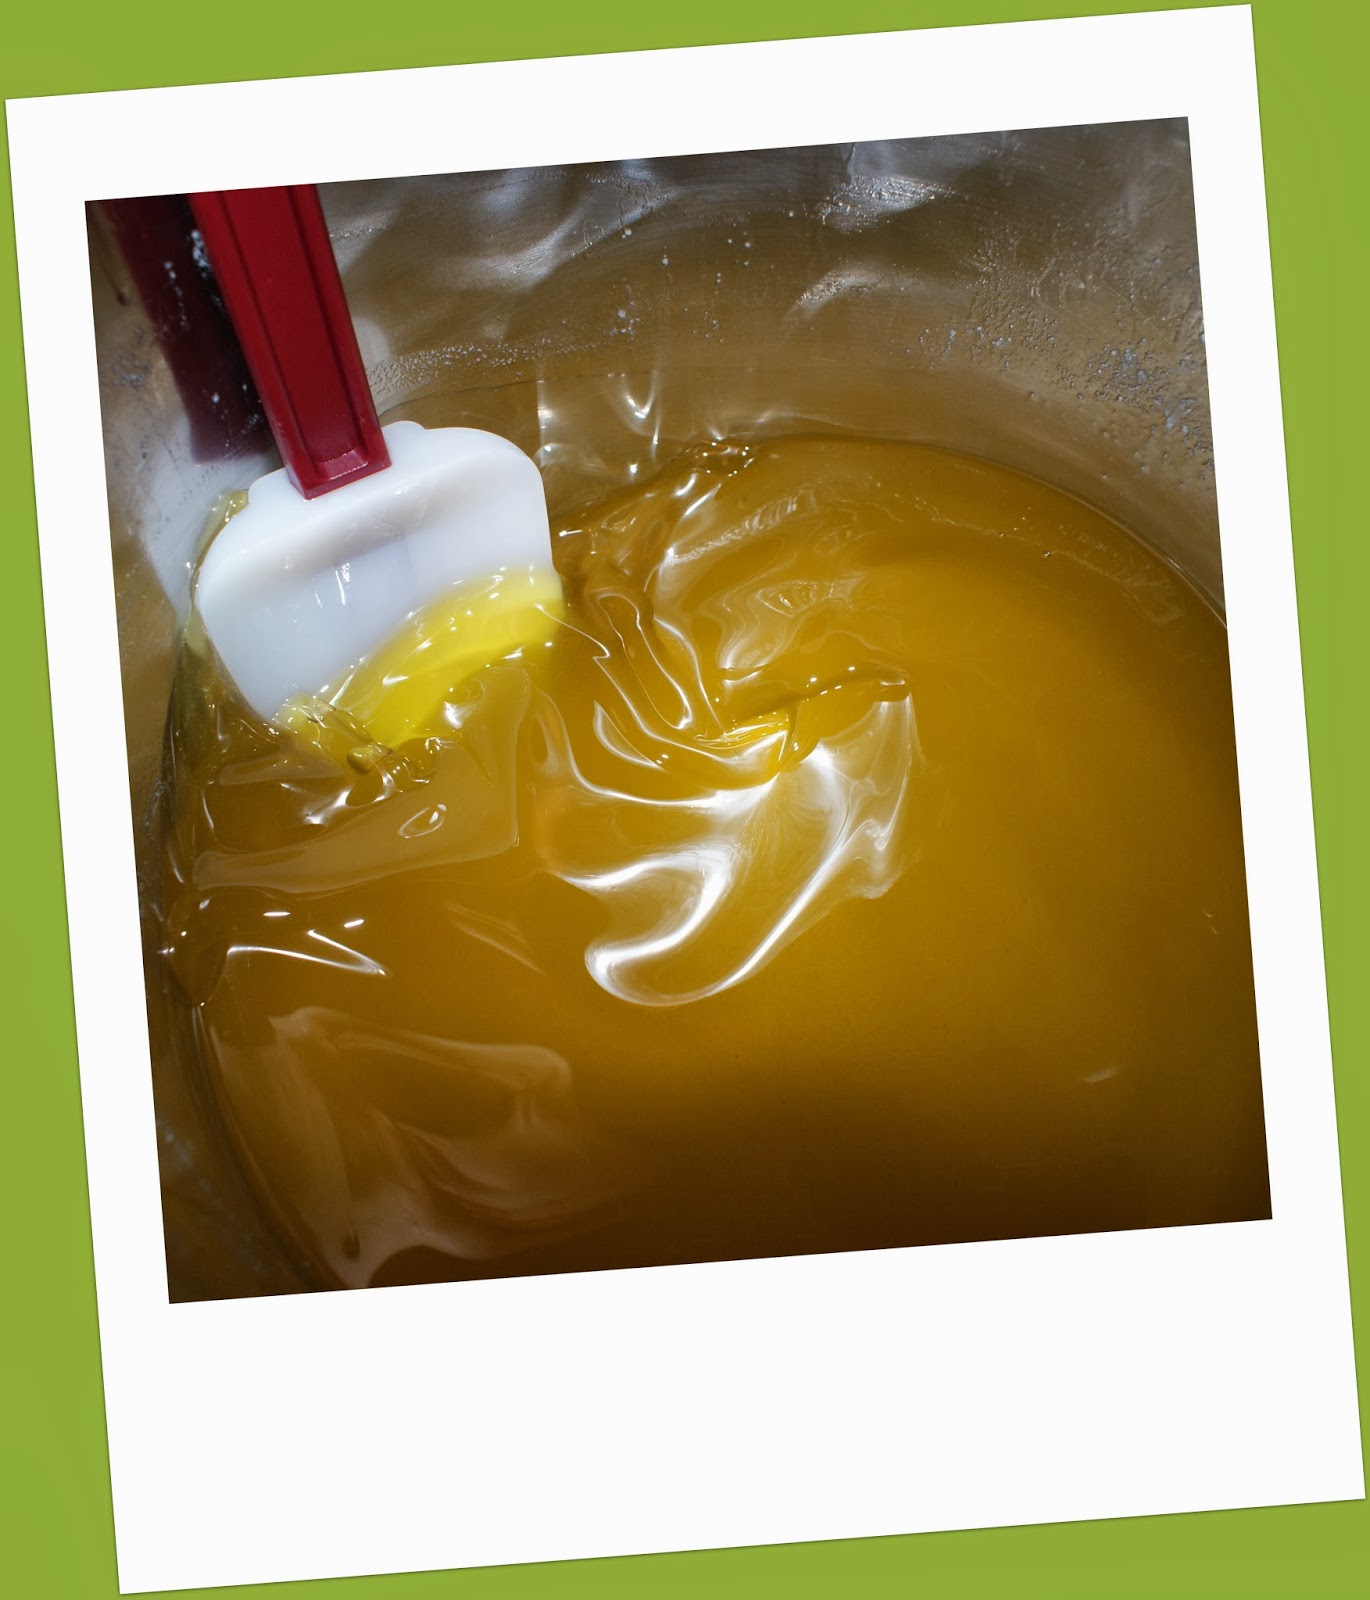
As the lye and milk cubes mix the lye heats the milk up quickly.  Because of this we monitor the temperature of the mixture.  If you keep it at just the right temp, you end up with a beautiful, creamy colored soap!!

Look at that great color!!
One of the final steps is the mixing of the oil mixture and the milk mixture.  At this point the lye is extremely dangerous so we have to be really careful!

We pour the milk mixture into the oil after they both reach about 95 degrees Fahrenheit.  After these are mixed well we use a hand blender to really, REALLY mix them!!  When they are mixed and things are going as planned, you watch for the mixture to reach something called "trace." 

This is the point that your mixture reaches the consistency of pudding.


Once we have mixed, and mixed, and mixed and we reach trace, we add the essential oils and any extra oils such as sweet almond oil or shea butter!!  Then it is poured into the mold where it sits and cools.


After 24 hours the bar will begin to harden.  At this point we have to cut it quickly!!  We use a lot of palm oil in our soaps and they tend to harden fast so we have to keep an eye on it.


 After cutting, the soap then sits on drying racks for one month. This time helps the soap to dry and harden, thus helping it last longer!  It also allows the chemical reaction to finish where the lye, milk and oils become soap!


And finally.....


We have the finished bars!!  And boy do these smell good :)

Wednesday, November 20, 2013

The Lye-f Of A Soap Maker!!

Lye-f.....Get it....Life??!!!  I am wayyyy too funny!!!

The newest adventure we are taking on here at Bumpkin Farm is the art of soap making!!

Okay, so I decide that making goat milk soap is the way to go.  Of course the next step is learning how!  How better to learn than Google it??!!

So I find pictures of beautiful bars of soap, recipes galore but one thing they all have is a warning about using Lye.  No biggie...I took chemistry...I know how to handle chemicals.

Well, let me tell you, Lye is SCARY!!!  The first time we made soap I thought that I would probably end up burning all of my appendages off!!


I followed the directions and suited up in long sleeves, gloves and eye protections, then lo and behold I opened the Lye container and spilled the crystals on my bare foot! 

Of course this was followed by my jumping around the kitchen screaming to Farmer Willie that the end was coming and my foot was on fire.  I was sure that toes were falling off!

He calmed me down a bit and I realized that I really felt nothing, my feet, toes and all, were fine.  Ended up my only injury was a sore throat from screaming so much!  :)

Sure, it was a bit dumb to forget to wear shoes, but I learned my lesson!!

Then came the fumes!  When you mix the Lye with the milk it and oil it begins to put off strong fumes.  I became convinced that I had breathed in too much and my lungs were shriveling up into raisins. 

I might have overreacted a bit there too!!

You will be glad to know that each time I have made a batch of soap, I have become more comfortable with using Lye.  Now I don't take it lightly mind you, but after taking precautions I realize that it will all be okay!

It amazes me how the process works.  How for hundreds of years this process has been used and is still how we make soap today!!  You take a caustic substance, mix it with milk and luxurious oils and a reaction happens where they combine, the caustic substance disappears and wah-lah, you have safe to wipe all over you soap!!


Just another amazing example of processes that God set up in our world!!  Who woulda' thunk it??!!


Sunday, November 17, 2013

Thankful Tree

Wow!  I guess we have been a bit busy, or I have been a bit lazy, but I have not posted in a while!!  Sorry about that! :)

So, we are well into November and Thanksgiving is just around the corner.

This is my absolute favorite time of the year!!  I love the weather and I love the holiday season that, in our home, begins on November 1st. 

In our family, November is a time that we focus on our blessings and thankfulness and December is a time that we focus on others and how we can bless them.  Boy do we have a lot to be thankful for!

For the past, I don't remember how many, years, we have made a thankful tree. 

Each year we change up what the tree looks like.  Some years we have done something on the wall, some years we have used small Christmas trees, and this year we made a stick tree.  There are probably a thousand ideas on Pinterest so find what works for your family!!

Here is what ours looks like this year:


We gathered some sticks from the backwoods, placed them in a mason jar, tied on some pretty fall ribbons and...BAM!!  Thankful tree!!


 I wanted to fill the jar with acorns, but I have not got around to gathering them yet and at this point I find it highly unlikely that I will do so!!  :)

So every morning as we all sit down to breakfast, someone from the family will name something that they are thankful for.  We even call our daughter who is off to college and she gives us her thankful item as well.

The tags I use are from Target!  I was so excited to find these in their dollar section!!  The are gold and silver trimmed with little rope hangers.  The black front of the tag is chalkboard!!  Then they had a chalk pen in the dollar section so I snatched that up as well!!


I love all of the chalk things that Target has!!

So, after we write down on one tag a day what we are thankful for, we hang it on the tree.  And then we have a visual reminder of the blessings that the Lord has bestowed upon us.  We also talk about the responsibility that those blessings bring.

We have a wide variety of tags! 

Everywhere from roaring fires in the fireplace!!!  To thankfulness for our family!

The cool thing is that after the first couple of weeks and you get past all of the obvious things, this forces everyone to really pay attention to the day and focus on blessings that sometimes sneak by us!!

There is no right or wrong way to make a family thankful tree!  How can you go wrong when you are giving thanks??!!

Have a blessed Sunday y'all!!!!!!!!!!!!