Showing posts with label Goats. Show all posts

Sunday, February 9, 2014

Dealing With Animal Life and Death on the Homestead

Life on our small farm is abundant.  Especially as spring approaches, the anticipation for new life builds!

Chicks are being born, goats are preparing to give birth, green sprouts appear on trees, and we all wait in excitement for the front pastures to make their transformation into glorious fields full of wildflowers. 


For me, as a fairly new farm gal, all of this new life also brings a bit of a worry about death.  Will everything go okay when our goat Nancy gives birth?  Will we be able to keep her kids protected from predators?  Are the new chicks staying warm...or are they too warm?  I still perk up at every noise I hear at night listening to make sure that nothing is getting into our chicken coop and hurting our chickens.


We had not been living here long when we experienced our first animal loss.  A pack of dogs got into our chicken coop and killed every hen that was in that coop. 

We were devastated.  We felt guilty for not being able to protect them better and we felt sad for the loss of life.  I hated farming at that point.  I was ready to move back to the city.


Over the next year we lost several other animals and each time we mourned. 

I kept thinking it would get easier for us but it never did. 

I was afraid to get any more farm animals.

I started to wonder if maybe we were not cut out for farm life.


But as I prayed about it and as I learned from other homesteaders and farmers I began to see a new reality emerge.

It should not get easier.

You see, by working on a farm and learning to homestead we learn the value of life as well as death.

We work each and every day with animals that give their all to provide milk, honey, and eggs to nourish our families.  We love on animals that eventually give their lives to bring us what we need to live.


Becoming a farmer does not mean that you should become hardened to death, it means that you become thankful for life.

I don't want to turn back into the girl that slapped some eggs on the table for breakfast never taking the time to think about the hens that worked so hard to lay them for me. 

And I don't want to turn back into the girl that grilled dinner and served it up never giving a thought to the animals whose ultimate job it was to feed me.

No. I will continue to feel sad when we lose animals. 


Because being a farmer is not just about what all I can take from the animals and the earth, it is also about what I can give.


We are super excited for the opportunity of participating in the Homestead Barn Hop #146!!


Friday, January 31, 2014

Wood Pallets: A Farm Girls Best Friend

Rewind 10 months and you arrive at the time that I meet my new best friend......the wooden pallet.......

We have two goats coming and along with putting up a fence, we need a goat shed.  Fences are not cheap, goats are not cheap, nothing is cheap so we are out of money, almost out of time, and nearing panic state!

I take a look at pinterest to try and find any ideas for an inexpensive way to build our goat shed and I notice one that is made of wooden pallets.  You know, those wood slat thingies that businesses take shipments on?   There I have it!!  My solution!!

We head to various businesses and I discover that finding someone to give you wooden pallets is not quite as easy as the online articles I found led me to believe.  After a little driving around and phone calling we were able to obtain around 15.

Within one day my daughters and I were able to create this!!!


On the inside you can really see the pallets.  We bought the metal for the roof and added some other scrap pieces of wood, but this thing went up in one day and works perfectly!!

After that I was smitten!  So...what else can I make around here with pallets?

The previous owners left this table outside when they moved.  Though it is a cute table, it did not really go with our ideas of what we want the house to look like so we were going to get rid of it.

But NO!!  Pallets save the day!!!


Farmer Willie removed the top of the table frame....


Then we pulled off some of the wood on one of our trusty pallets, attached them to the table top and BAM!!!!


Beautiful table!!


Then we needed a bridge across the stream that runs through our property.  My daughter decided to build one for us using....you guessed it....PALLETS!!!

It works perfect and how much did it cost us????  Zilch!!  :)


Another view so you can see how she used a pallet base as the base of the bridge.


Now moving on to animal uses....yes, there are more!!

Farmer Willie built a double stanchion for our dairy goats out of pallets!!  Pretty awesome isn't it??


And finally, when you thought that there could be no more...a dog house!!!  See the pallet base there? Our farm dog, Tank, loves pallets too!!


We are in the middle of working on a sign to hang at the front of the property identifying us as Bumpkin Farm...wanna know what we are using for the actual sign portion?  Pallets!!!

Now, these wooden pallets will never laugh at my jokes or listen to my whining like my friends will, but try making a bridge using a 5 foot brown-head for the base!! 

If you have enjoyed reading this blog, you might enjoy some of the other ones participating in Homestead Barn Hop #145!!

barnhopimage


Look for other DIY projects at DIY Accomplished!

I was featured at Homemaker's Challenge DIY Accomplished Link Up!


Friday, January 24, 2014

Cold Weather on the Farm

Brrrrrr.....it's cold outside! 

Well, at least for us Texans!!  :)

When I milked the goats yesterday the cleaning cloths froze before I was done milking!  Poor April was so cold.  She seems to be more sensitive to the cold than her sister Nancy.


When it is below freezing outside we have to be extra careful to make sure the goats have access to water....not ice!  So about every two hours we carry out a pot of boiling water to keep ice from forming on the top of the water bucket. 


Luckily Farmer Willie is working from home today, so he gets to help with that job!!  :)


Their water already has a film of ice on top so we break that up with a shovel and then add the hot water.


April was super excited to have some warm water to warm her up!!


And that's how it's done!!  :)


Wednesday, December 4, 2013

Bumpkin Bars!!

Bumpkin Farm is now up and running!

What's the difference?  Well, now we have a cool name and a logo thanks to Urban Creative Studio via etsy!!


And we have officially sold our first batch of soap, otherwise known as Bumpkin Bars!!

So for today's post, I thought you might enjoy seeing how we make the bars.

This batch is a peppermint 100% goat milk soap.  We say 100% goat milk because most goat soaps are made with some water added.  Since we use the milk that we get each morning we have a nice supply and are able to use all milk.

First things first, we get all of the supplies laid out!


Then we start to measure out the ingredients beginning with the solid oils like palm and coconut oil.


Then we measure the liquid oils out!


After that we begin to melt the solids.


Once that gets going we finish measuring out the essential oils, any specialty oils and the milk.

Here we are measuring out the peppermint essential oil.


We measure our milk out in frozen cubes.  It is much easier to control the temperature of the milk when you use frozen milk and there is the added benefit of it being easier to get an exact weight on!


Once that is measured the solid oils are usually melted and we add the liquid oils such as olive oil.  This allows time for the oils to sit and cool to the correct temperature!


Adding the olive oil to the coconut and palm oils!


At this time we also measure out the lye.


During the next step we add the lye to the milk.  This is done very slowly and carefully as lye can severely burn your skin if it is not handled correctly.  Another hazard is adding the lye too quickly.  If this happens your burn your milk.


We at Bumpkin Farm always take the utmost precautions when handling the lye!!  Goggles, long pants and sleeves, shoes and rubber gloves are a must!  We also keep a bottle of vinegar out in case of spills or splashes.

As the lye and milk cubes mix the lye heats the milk up quickly.  Because of this we monitor the temperature of the mixture.  If you keep it at just the right temp, you end up with a beautiful, creamy colored soap!!

Look at that great color!!
One of the final steps is the mixing of the oil mixture and the milk mixture.  At this point the lye is extremely dangerous so we have to be really careful!

We pour the milk mixture into the oil after they both reach about 95 degrees Fahrenheit.  After these are mixed well we use a hand blender to really, REALLY mix them!!  When they are mixed and things are going as planned, you watch for the mixture to reach something called "trace." 

This is the point that your mixture reaches the consistency of pudding.


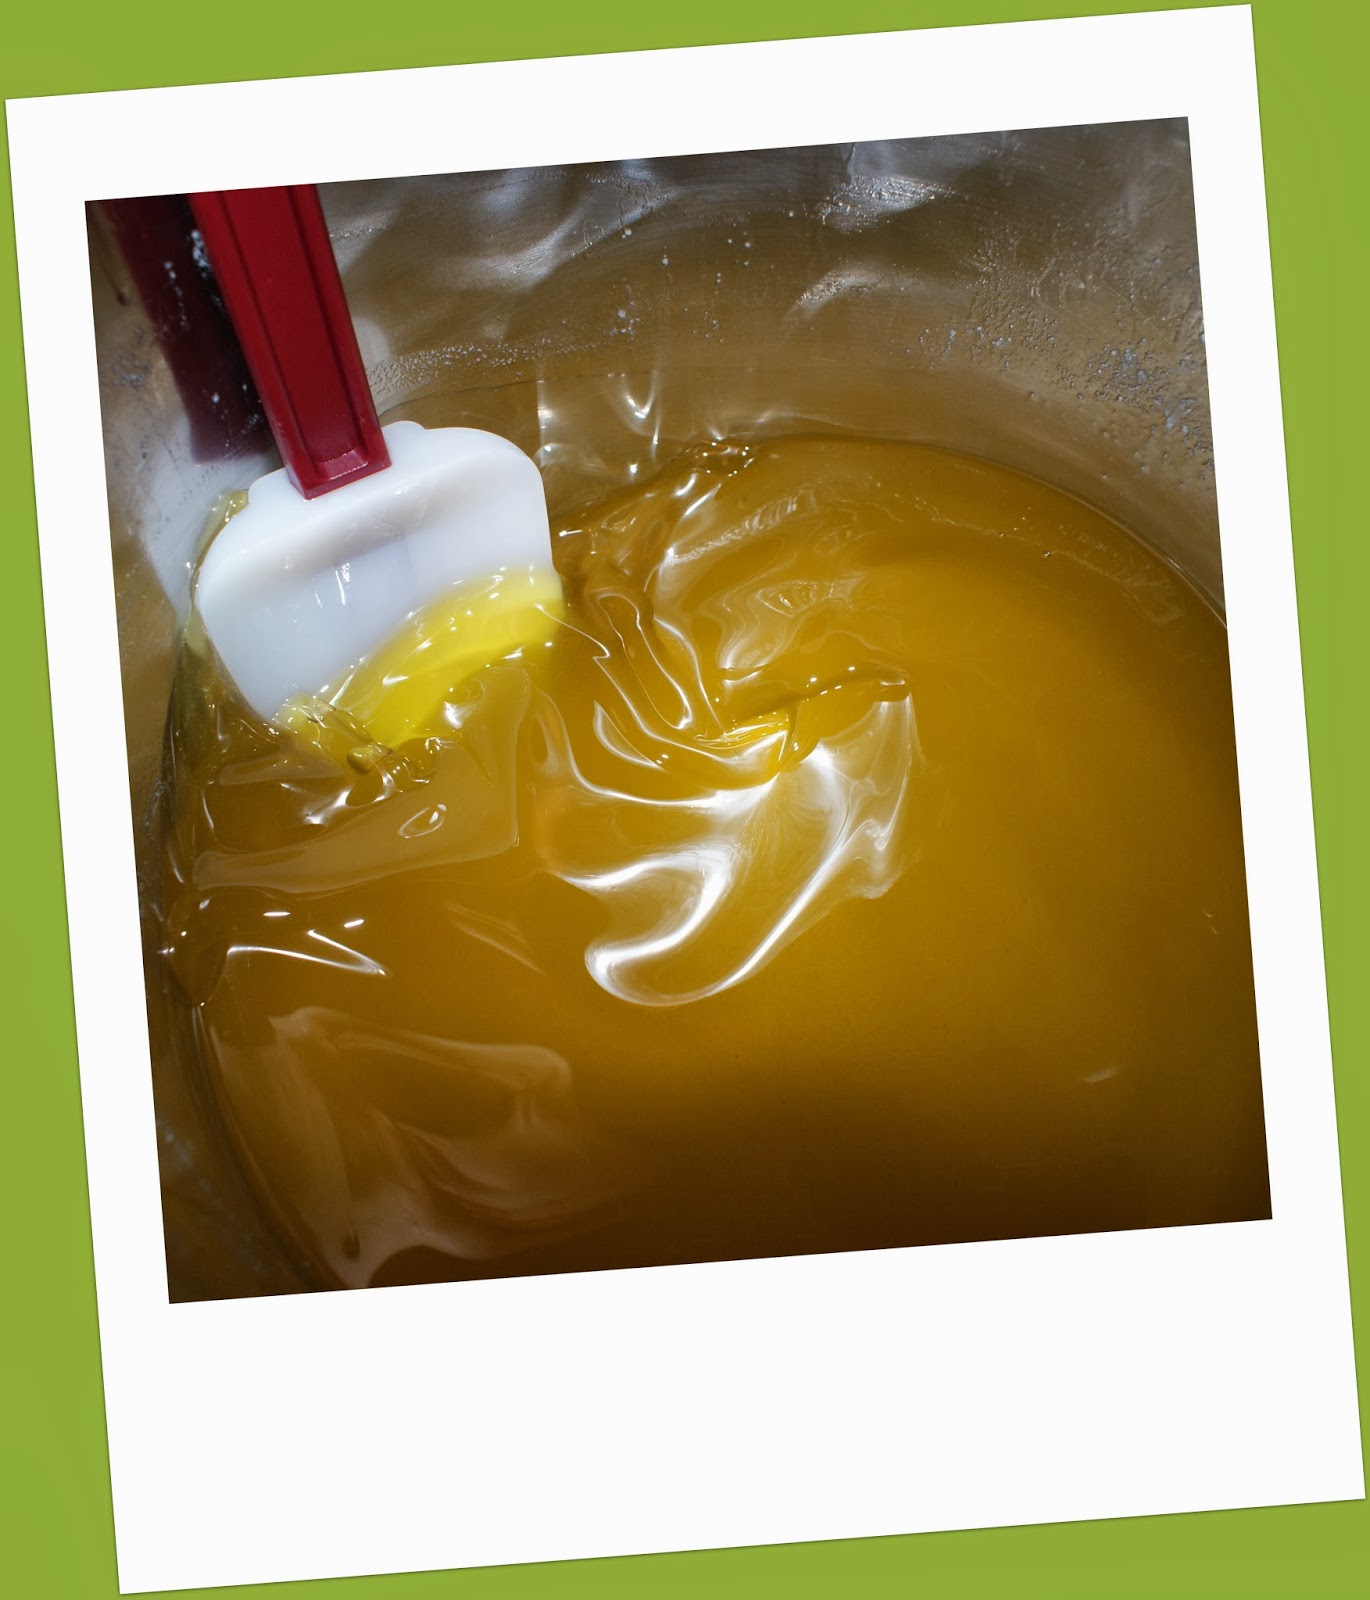
Once we have mixed, and mixed, and mixed and we reach trace, we add the essential oils and any extra oils such as sweet almond oil or shea butter!!  Then it is poured into the mold where it sits and cools.


After 24 hours the bar will begin to harden.  At this point we have to cut it quickly!!  We use a lot of palm oil in our soaps and they tend to harden fast so we have to keep an eye on it.


 After cutting, the soap then sits on drying racks for one month. This time helps the soap to dry and harden, thus helping it last longer!  It also allows the chemical reaction to finish where the lye, milk and oils become soap!


And finally.....


We have the finished bars!!  And boy do these smell good :)

Monday, October 14, 2013

Goat Milking 101

Well...you know we have a couple of goats and they are just the cutest goats in the WORLD!!

I have introduced them to you before, but in case you missed it....

This is Nancy :)


And this is April!!

Look at those sweet girls!  And they work so hard for us, producing a combined gallon of milk per day!

So, how does the milk go from goat to fridge?  Well, let me show ya!!

Our milking process begins at 5:15 each morning.  We begin by soaking bucket, strainer, and milk jars in warm bleach water for about 10 minutes.  I prefer to use Clorox bleach only as I have read several recommendations to do so!!

Then we set it out to air dry for a bit.

While it is drying we gather the other supplies to bring out to the milking barn with us.  Hmmm...milking barn might be a bit of an optimistic word for it!!  We started building it at the beginning of the summer and stalled because it quickly became too warm.  Now we are stalled because we are at a portion of it that we need help with!  The roof!!  We are not a tall family :)

 
We have this super cool milking bucket that filters as the milk goes in!  


It is also at this time that I get the supplies ready for the filtration and wake-ation processes!  We do another filter go-around when we bring the milk in from the barn.

 These are our filtration supplies as well as storage.  Since we only drink about a gallon and a half a week, we usually freeze the excess and pass it on to friends who would like some.  For freezing, only Ziploc seems to work!  The less expensive brands, though I have used them for everything else, just don't hold the milk well.

 Now this is the main ingredient in our wake-ation process!  A pot of coffee is definitely put on for Tori and I to enjoy after the milking is done!!


And we have Hazelnut International Delight Creamer!!  Cuz' you know, no cup of coffee would be good if it actually still tasted like coffee!!!


Then we slip on our super cute, yet VERY worn, work boots and head out!!  It is dark when we start milking.  During the summer we were able to watch the sun come up, but now it stays dark too long:(  But we sure enjoy looking at the beautiful night sky!!

Okay, so we head out to the milking barn with all of the supplies and get all set up.

 Like I said, it is dark when we first get out there so the very first thing we do is a snake check with the flashlight!!  Sure don't want any snakes joining our milking party!!

You see the three buckets on the left?  The one that is upside down is the one I sit on.  The one in the middle is for trash, and the one at the bottom holds teat wipes!!  Gotta have some clean teats to get yummy milk!!
These are some of the supplies that we store out in the barn....giant feed bucket and under the tarp is some yummy alfalfa hay!  Boy howdy do the girls love them some hay!!

This is called a milking stanchion.  We are borrowing this one while we are in the process of building our own!!  Oh and this picture is from another day!  Today it was dark so it was really hard to get the pictures when you can't see what you are snapping!!

Anyways, the goats just hop on up and stick their little heads in the opening.  They like it because this is the only time they get sweet feed and boy do they enjoy them some sweet feed!!

My partner in crime...aka Tori...fills the feed bucket!!  We did not want in any of the pictures today because we had to milk in the rain!!  We were not looking like our usual, cutie selves!!!

Then up they hop and we get busy!  The first thing we do is spray the udder and teats down with an iodine spray and wipe the area clean.  Then we use those teat wipes I told you about and wipe each teat clean.

Many people think goats have four teats, but they just have two!!

Then we spray the first stream in each teat into something called a strip cup.  This is just a metal cup with a mesh lid.  We do this so we can inspect the milk.  We check the color and consistency.  We are able to look at the mesh lid to check for any type of clots that might come out as well.

Another reason we spray the first stream into the strip cup is that if any bacteria is being harbored in the udder, it is usually in the tip of the teat and will come out with the first spray
Then....we can finally start milking!!

Milking a goat is a much cleaner and more enjoyable process than I thought it would be!  They don't smell and there is something pure and simple about milking them.  I am so thankful for what they provide for us!

After we milk both sides, we then spray each teat down with an antibacterial spray that also forms a sealant over the tip of the teat keeping bacteria out in-between milkings.

Once both goats are milked and everything it put up, we head back to the house to prepare the milk for either storage or drinking!!  It is a very creamy, yummy milk with no after taste.  I was a bit scared to try it the first time, but was so surprised at how good it was!!

Once inside, we filer again.  This time we pour it into a jar to either store for drinking, or pour into a baggie for storage in the freezer.


All done with filtering!!  Now the milk either stays in the jar for us to drink, or we pour it into the baggie for the freezer.
 Today it went into the baggie!!

 We label it with the date and the amount of milk and...
It goes onto a tray in the freezer.  We put it on a tray for the first 24 hours so that it freezes in a position that is easy to store.

When we keep it in the jar, we also put it in the freezer for a couple of hours to bring the temperature down quickly.  Then we transfer it to the fridge.
Then it goes from the fridge to the table!!!  Can you say YUMMY??!!!!!!!!!!!!!

After everything is done, then we get back to the wake-ation process!!

A little time with this....

And This....

Watching this.....


And studying this....

And then we are ready to wake the other girls and get this day started!!!!!!!!!!!