Wednesday, December 4, 2013

Bumpkin Bars!!

Bumpkin Farm is now up and running!

What's the difference?  Well, now we have a cool name and a logo thanks to Urban Creative Studio via etsy!!


And we have officially sold our first batch of soap, otherwise known as Bumpkin Bars!!

So for today's post, I thought you might enjoy seeing how we make the bars.

This batch is a peppermint 100% goat milk soap.  We say 100% goat milk because most goat soaps are made with some water added.  Since we use the milk that we get each morning we have a nice supply and are able to use all milk.

First things first, we get all of the supplies laid out!


Then we start to measure out the ingredients beginning with the solid oils like palm and coconut oil.


Then we measure the liquid oils out!


After that we begin to melt the solids.


Once that gets going we finish measuring out the essential oils, any specialty oils and the milk.

Here we are measuring out the peppermint essential oil.


We measure our milk out in frozen cubes.  It is much easier to control the temperature of the milk when you use frozen milk and there is the added benefit of it being easier to get an exact weight on!


Once that is measured the solid oils are usually melted and we add the liquid oils such as olive oil.  This allows time for the oils to sit and cool to the correct temperature!
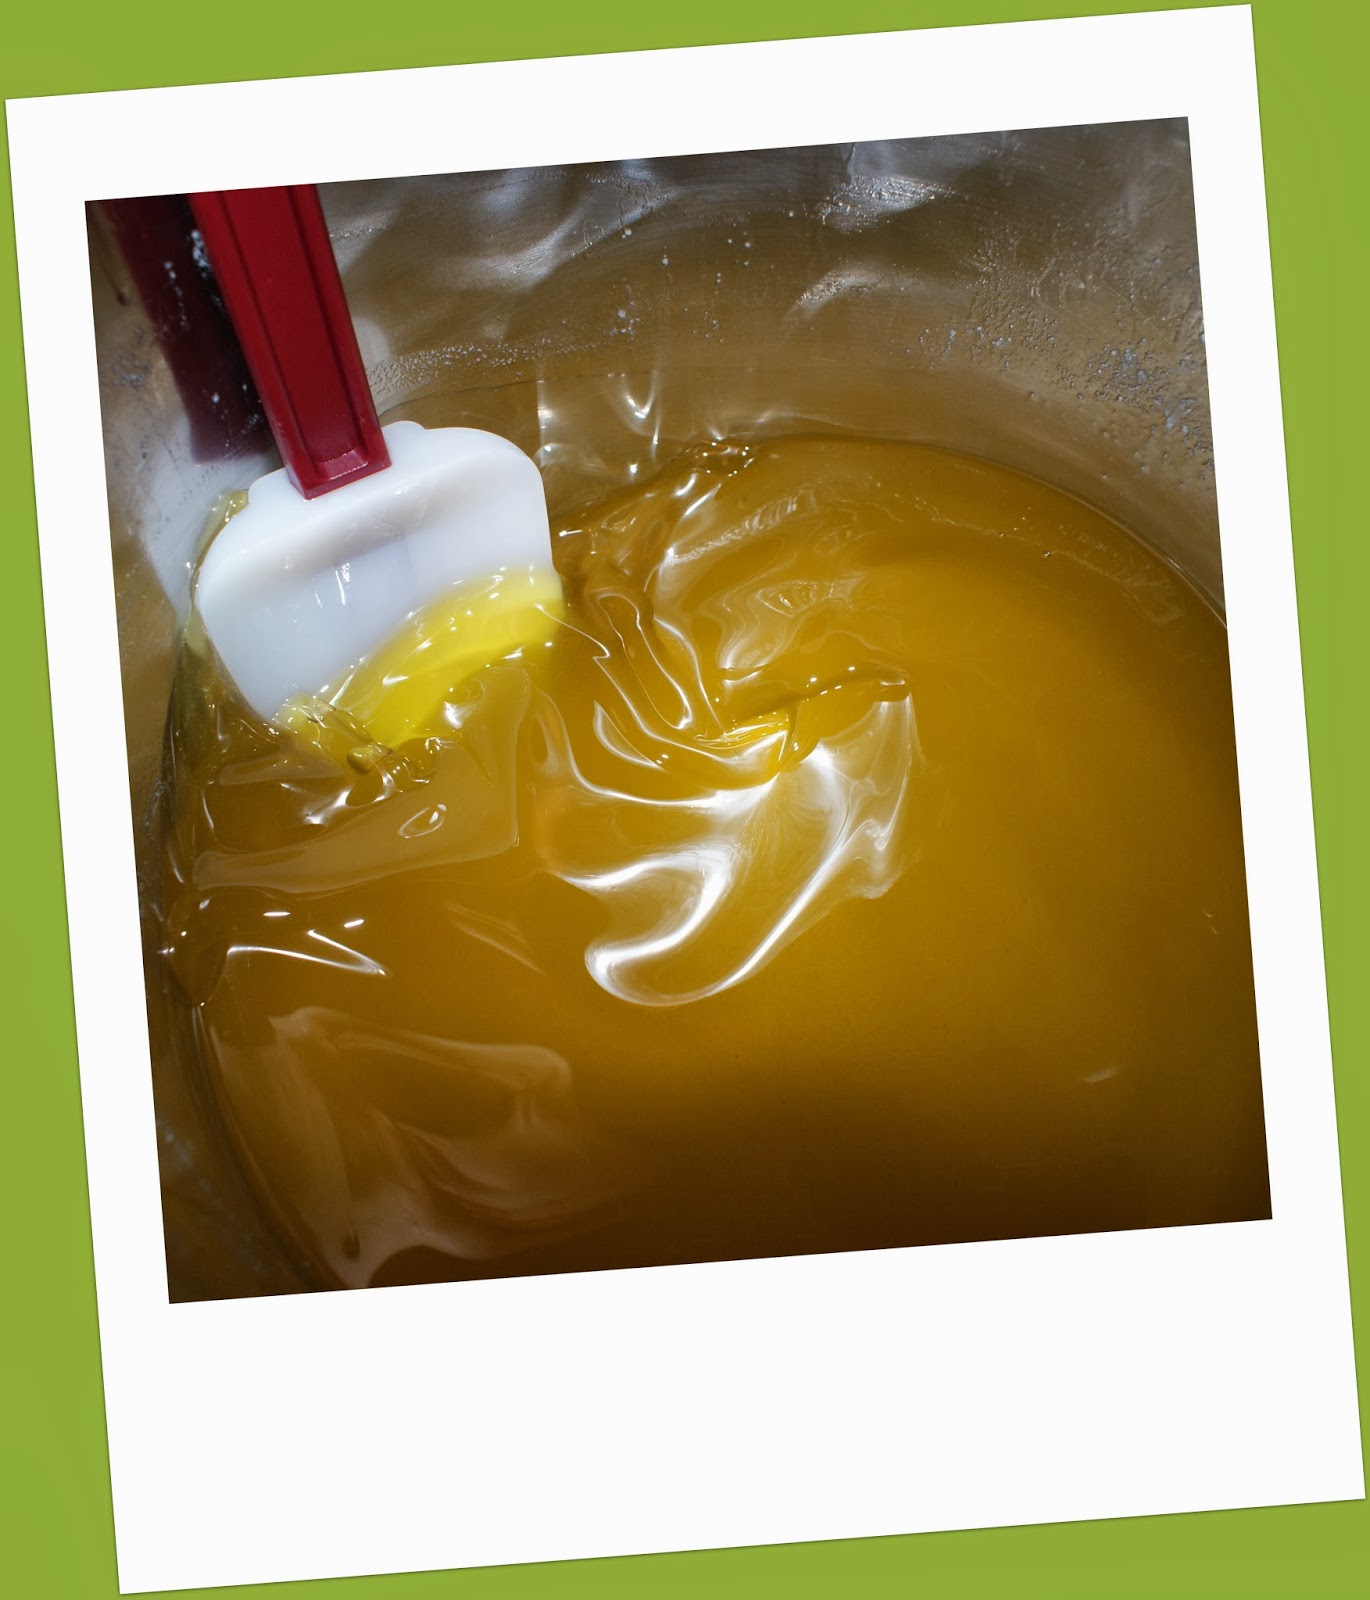

Adding the olive oil to the coconut and palm oils!


At this time we also measure out the lye.


During the next step we add the lye to the milk.  This is done very slowly and carefully as lye can severely burn your skin if it is not handled correctly.  Another hazard is adding the lye too quickly.  If this happens your burn your milk.


We at Bumpkin Farm always take the utmost precautions when handling the lye!!  Goggles, long pants and sleeves, shoes and rubber gloves are a must!  We also keep a bottle of vinegar out in case of spills or splashes.

As the lye and milk cubes mix the lye heats the milk up quickly.  Because of this we monitor the temperature of the mixture.  If you keep it at just the right temp, you end up with a beautiful, creamy colored soap!!

Look at that great color!!
One of the final steps is the mixing of the oil mixture and the milk mixture.  At this point the lye is extremely dangerous so we have to be really careful!

We pour the milk mixture into the oil after they both reach about 95 degrees Fahrenheit.  After these are mixed well we use a hand blender to really, REALLY mix them!!  When they are mixed and things are going as planned, you watch for the mixture to reach something called "trace." 

This is the point that your mixture reaches the consistency of pudding.


Once we have mixed, and mixed, and mixed and we reach trace, we add the essential oils and any extra oils such as sweet almond oil or shea butter!!  Then it is poured into the mold where it sits and cools.


After 24 hours the bar will begin to harden.  At this point we have to cut it quickly!!  We use a lot of palm oil in our soaps and they tend to harden fast so we have to keep an eye on it.


 After cutting, the soap then sits on drying racks for one month. This time helps the soap to dry and harden, thus helping it last longer!  It also allows the chemical reaction to finish where the lye, milk and oils become soap!


And finally.....


We have the finished bars!!  And boy do these smell good :)

Wednesday, November 20, 2013

The Lye-f Of A Soap Maker!!

Lye-f.....Get it....Life??!!!  I am wayyyy too funny!!!

The newest adventure we are taking on here at Bumpkin Farm is the art of soap making!!

Okay, so I decide that making goat milk soap is the way to go.  Of course the next step is learning how!  How better to learn than Google it??!!

So I find pictures of beautiful bars of soap, recipes galore but one thing they all have is a warning about using Lye.  No biggie...I took chemistry...I know how to handle chemicals.

Well, let me tell you, Lye is SCARY!!!  The first time we made soap I thought that I would probably end up burning all of my appendages off!!


I followed the directions and suited up in long sleeves, gloves and eye protections, then lo and behold I opened the Lye container and spilled the crystals on my bare foot! 

Of course this was followed by my jumping around the kitchen screaming to Farmer Willie that the end was coming and my foot was on fire.  I was sure that toes were falling off!

He calmed me down a bit and I realized that I really felt nothing, my feet, toes and all, were fine.  Ended up my only injury was a sore throat from screaming so much!  :)

Sure, it was a bit dumb to forget to wear shoes, but I learned my lesson!!

Then came the fumes!  When you mix the Lye with the milk it and oil it begins to put off strong fumes.  I became convinced that I had breathed in too much and my lungs were shriveling up into raisins. 

I might have overreacted a bit there too!!

You will be glad to know that each time I have made a batch of soap, I have become more comfortable with using Lye.  Now I don't take it lightly mind you, but after taking precautions I realize that it will all be okay!

It amazes me how the process works.  How for hundreds of years this process has been used and is still how we make soap today!!  You take a caustic substance, mix it with milk and luxurious oils and a reaction happens where they combine, the caustic substance disappears and wah-lah, you have safe to wipe all over you soap!!


Just another amazing example of processes that God set up in our world!!  Who woulda' thunk it??!!


Sunday, November 17, 2013

Thankful Tree

Wow!  I guess we have been a bit busy, or I have been a bit lazy, but I have not posted in a while!!  Sorry about that! :)

So, we are well into November and Thanksgiving is just around the corner.

This is my absolute favorite time of the year!!  I love the weather and I love the holiday season that, in our home, begins on November 1st. 

In our family, November is a time that we focus on our blessings and thankfulness and December is a time that we focus on others and how we can bless them.  Boy do we have a lot to be thankful for!

For the past, I don't remember how many, years, we have made a thankful tree. 

Each year we change up what the tree looks like.  Some years we have done something on the wall, some years we have used small Christmas trees, and this year we made a stick tree.  There are probably a thousand ideas on Pinterest so find what works for your family!!

Here is what ours looks like this year:


We gathered some sticks from the backwoods, placed them in a mason jar, tied on some pretty fall ribbons and...BAM!!  Thankful tree!!


 I wanted to fill the jar with acorns, but I have not got around to gathering them yet and at this point I find it highly unlikely that I will do so!!  :)

So every morning as we all sit down to breakfast, someone from the family will name something that they are thankful for.  We even call our daughter who is off to college and she gives us her thankful item as well.

The tags I use are from Target!  I was so excited to find these in their dollar section!!  The are gold and silver trimmed with little rope hangers.  The black front of the tag is chalkboard!!  Then they had a chalk pen in the dollar section so I snatched that up as well!!


I love all of the chalk things that Target has!!

So, after we write down on one tag a day what we are thankful for, we hang it on the tree.  And then we have a visual reminder of the blessings that the Lord has bestowed upon us.  We also talk about the responsibility that those blessings bring.

We have a wide variety of tags! 

Everywhere from roaring fires in the fireplace!!!  To thankfulness for our family!

The cool thing is that after the first couple of weeks and you get past all of the obvious things, this forces everyone to really pay attention to the day and focus on blessings that sometimes sneak by us!!

There is no right or wrong way to make a family thankful tree!  How can you go wrong when you are giving thanks??!!

Have a blessed Sunday y'all!!!!!!!!!!!!


Tuesday, October 29, 2013

Care Packages for College Students

I came across an article on msnbc.com today taking about sending care packages to college students.  It was kinda funny that I ran across it because we are finishing up a little Halloween care package to send to Brianna today!!

Most of the people that the author interviewed (parents of college students) were pro care packages, even if they themselves did not have the time or money to send them.  I was surprised to find that some parents thought that they were a waste of time.

They said things like "they are too old for silly stuff like that" and that college kids were "not at a summer sleep away camp." 

Humph!!  I am in my forties and I still LOVE getting packages!!

And I must admit, I really enjoy sending them.

I think it lets Bri know that she is loved and thought of daily.  It gives her a little hug from home in a box!!

I enjoy the process of purchasing items for our care packages, and her sisters like getting in on the action!!  I feel like she is an active part of my day when I am able to search for and put the items together.

The first package we sent her was full of things she forgot to bring as well as lots of candy, treats and surprises!!

The second one had some fall décor in it, fall baked goods and some trinkets.

The one we are sending today will be for Halloween!  It has Halloween treats, a little pumpkin, a Halloween straw and some souvenirs that her sister and I picked up for her last week in Belize!!  Oh, also a couple of long sleeve shirts she asked for due to the cooler weather :)


Brianna's care package that is going out today!!

This is her first Halloween away from home and though I know she will have a blast with her friends, I just want her to know that she is on our minds as we head out to trunk-or-treat at church!!


Thursday, October 17, 2013

Celebrate!

It is so important in life to celebrate! 

Celebrate the sunrise!

Celebrate two straight days of rain!

To celebrate something is to show happiness that something good or special has happened and every day brings good and special moments!  Some days those moments are easier to find, but every day they are there.

So today we celebrated my second born girly!  She took an important standardized test, the PSAT, and survived. We had her favorite lunch and dessert waiting for her when she got home!


She loves her some starch!!  Yummy pesto pasta and garlic bread :)


And of course her favorite dessert of red velvet cupcakes with cream cheese frosting!!


And her little sisters made a sign celebrating PSAT Day!!

So make a decision that tomorrow, you are going to find something to celebrate!

Life is too short not to.


Monday, October 14, 2013

Goat Milking 101

Well...you know we have a couple of goats and they are just the cutest goats in the WORLD!!

I have introduced them to you before, but in case you missed it....

This is Nancy :)


And this is April!!

Look at those sweet girls!  And they work so hard for us, producing a combined gallon of milk per day!

So, how does the milk go from goat to fridge?  Well, let me show ya!!

Our milking process begins at 5:15 each morning.  We begin by soaking bucket, strainer, and milk jars in warm bleach water for about 10 minutes.  I prefer to use Clorox bleach only as I have read several recommendations to do so!!

Then we set it out to air dry for a bit.

While it is drying we gather the other supplies to bring out to the milking barn with us.  Hmmm...milking barn might be a bit of an optimistic word for it!!  We started building it at the beginning of the summer and stalled because it quickly became too warm.  Now we are stalled because we are at a portion of it that we need help with!  The roof!!  We are not a tall family :)

 
We have this super cool milking bucket that filters as the milk goes in!  


It is also at this time that I get the supplies ready for the filtration and wake-ation processes!  We do another filter go-around when we bring the milk in from the barn.

 These are our filtration supplies as well as storage.  Since we only drink about a gallon and a half a week, we usually freeze the excess and pass it on to friends who would like some.  For freezing, only Ziploc seems to work!  The less expensive brands, though I have used them for everything else, just don't hold the milk well.

 Now this is the main ingredient in our wake-ation process!  A pot of coffee is definitely put on for Tori and I to enjoy after the milking is done!!


And we have Hazelnut International Delight Creamer!!  Cuz' you know, no cup of coffee would be good if it actually still tasted like coffee!!!


Then we slip on our super cute, yet VERY worn, work boots and head out!!  It is dark when we start milking.  During the summer we were able to watch the sun come up, but now it stays dark too long:(  But we sure enjoy looking at the beautiful night sky!!

Okay, so we head out to the milking barn with all of the supplies and get all set up.

 Like I said, it is dark when we first get out there so the very first thing we do is a snake check with the flashlight!!  Sure don't want any snakes joining our milking party!!

You see the three buckets on the left?  The one that is upside down is the one I sit on.  The one in the middle is for trash, and the one at the bottom holds teat wipes!!  Gotta have some clean teats to get yummy milk!!
These are some of the supplies that we store out in the barn....giant feed bucket and under the tarp is some yummy alfalfa hay!  Boy howdy do the girls love them some hay!!

This is called a milking stanchion.  We are borrowing this one while we are in the process of building our own!!  Oh and this picture is from another day!  Today it was dark so it was really hard to get the pictures when you can't see what you are snapping!!

Anyways, the goats just hop on up and stick their little heads in the opening.  They like it because this is the only time they get sweet feed and boy do they enjoy them some sweet feed!!

My partner in crime...aka Tori...fills the feed bucket!!  We did not want in any of the pictures today because we had to milk in the rain!!  We were not looking like our usual, cutie selves!!!

Then up they hop and we get busy!  The first thing we do is spray the udder and teats down with an iodine spray and wipe the area clean.  Then we use those teat wipes I told you about and wipe each teat clean.

Many people think goats have four teats, but they just have two!!

Then we spray the first stream in each teat into something called a strip cup.  This is just a metal cup with a mesh lid.  We do this so we can inspect the milk.  We check the color and consistency.  We are able to look at the mesh lid to check for any type of clots that might come out as well.

Another reason we spray the first stream into the strip cup is that if any bacteria is being harbored in the udder, it is usually in the tip of the teat and will come out with the first spray
Then....we can finally start milking!!

Milking a goat is a much cleaner and more enjoyable process than I thought it would be!  They don't smell and there is something pure and simple about milking them.  I am so thankful for what they provide for us!

After we milk both sides, we then spray each teat down with an antibacterial spray that also forms a sealant over the tip of the teat keeping bacteria out in-between milkings.

Once both goats are milked and everything it put up, we head back to the house to prepare the milk for either storage or drinking!!  It is a very creamy, yummy milk with no after taste.  I was a bit scared to try it the first time, but was so surprised at how good it was!!

Once inside, we filer again.  This time we pour it into a jar to either store for drinking, or pour into a baggie for storage in the freezer.


All done with filtering!!  Now the milk either stays in the jar for us to drink, or we pour it into the baggie for the freezer.
 Today it went into the baggie!!

 We label it with the date and the amount of milk and...
It goes onto a tray in the freezer.  We put it on a tray for the first 24 hours so that it freezes in a position that is easy to store.

When we keep it in the jar, we also put it in the freezer for a couple of hours to bring the temperature down quickly.  Then we transfer it to the fridge.
Then it goes from the fridge to the table!!!  Can you say YUMMY??!!!!!!!!!!!!!

After everything is done, then we get back to the wake-ation process!!

A little time with this....

And This....

Watching this.....


And studying this....

And then we are ready to wake the other girls and get this day started!!!!!!!!!!!

Farm Cute-ism

 
Cute farm moment..........
 

This cat actually belongs to some of our neighbors, but she enjoys coming over and playing with the girls....both of the human and of the chicken variety!!  The hens were all snuggled up with her for a nap yesterday afternoon!!

I am working on a post for tomorrow showing you how we go through our milking and filtration process each morning with our goats!!

Hope you have a wonderful day and don't forget to stop and appreciate the cute moments that YOU encounter :)